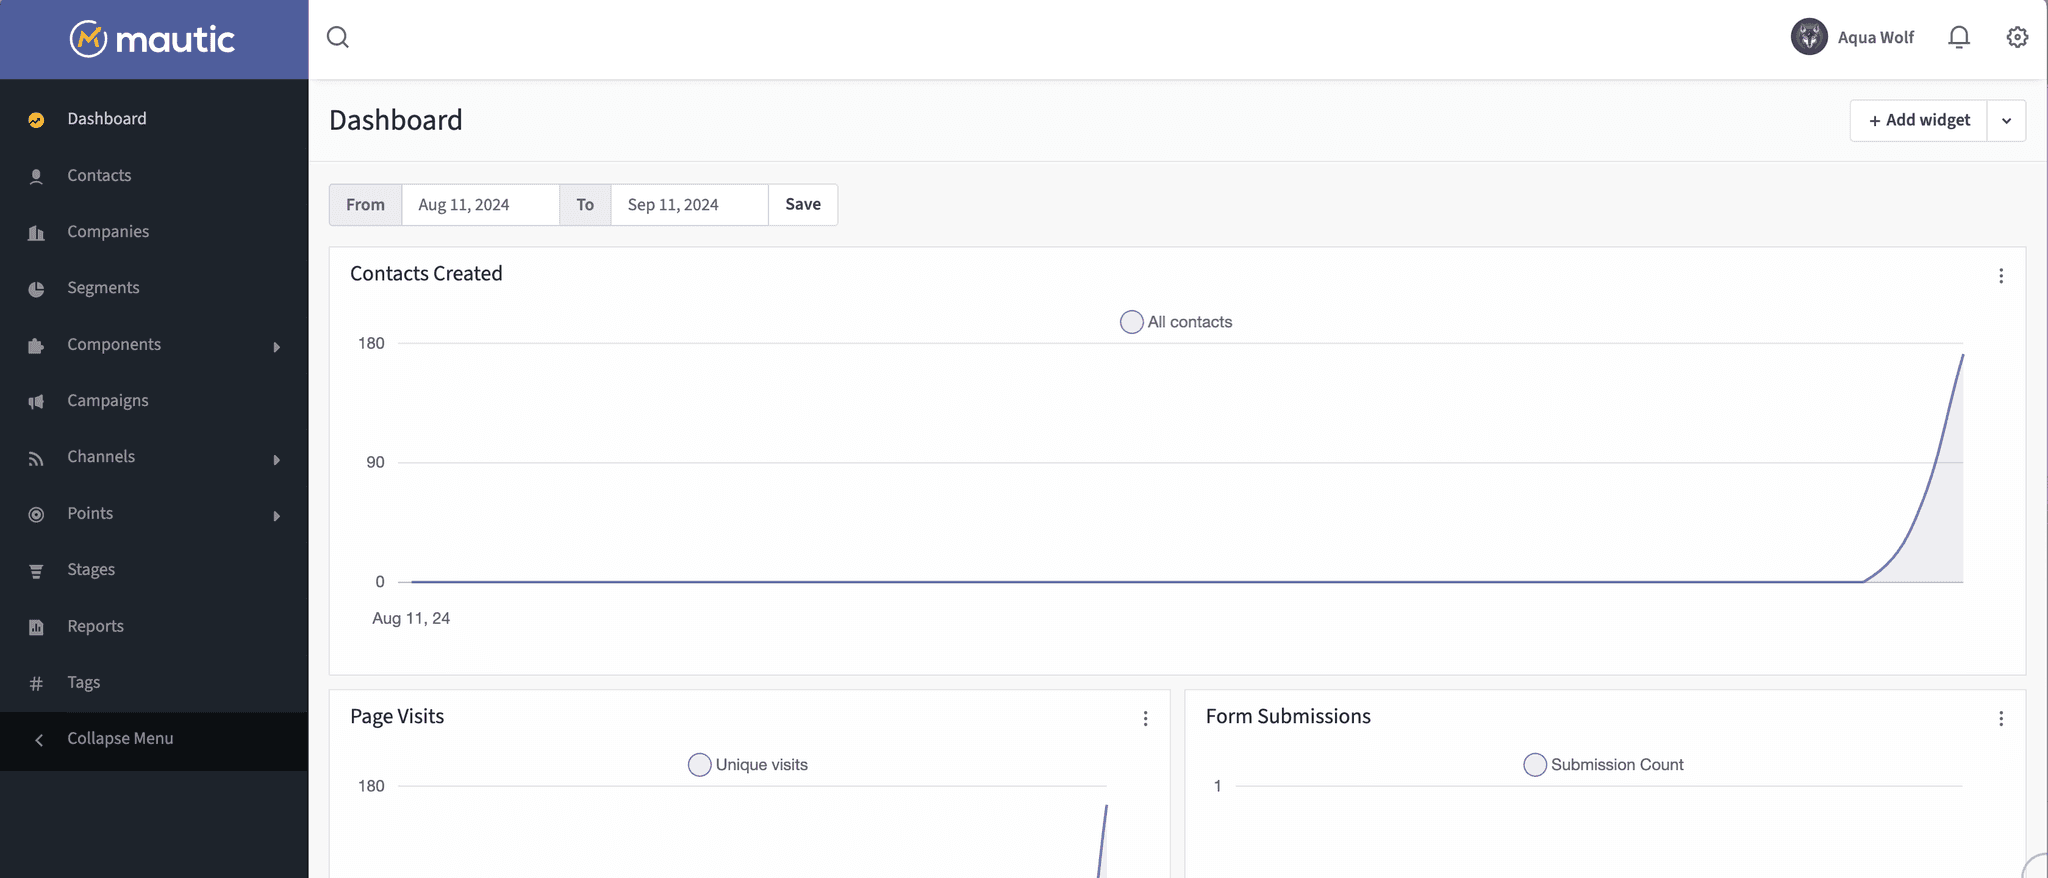
How to Install Mautic on Ubuntu Self-Hosted
Learn how to install Mautic on Ubuntu Self-Hosted

Written on
By 0xAquaWolf
Last updated
Table of Contents
Mautic Installation Guide for Ubuntu 24
This guide provides step-by-step instructions for installing Mautic on Ubuntu 24 using NGINX, PHP 8.0, and MySQL.
Prerequisites
- Ubuntu 24 server
- Root or sudo access
Step 1: Update System
sudo apt update && sudo apt upgrade -yStep 2: Install NGINX
sudo apt install nginx -y
sudo systemctl start nginx && sudo systemctl enable nginx
Step 3: Install PHP and Required Extensions
sudo apt install software-properties-common apt-transport-https -y
sudo add-apt-repository ppa:ondrej/php -y
sudo apt update
sudo apt install php8.0 php8.0-fpm php8.0-mysql php8.0-xml php8.0-curl php8.0-gd php8.0-intl php8.0-mbstring php8.0-zip php8.0-bcmath php8.0-imap -y
Set PHP 8.0 as the default version:
sudo update-alternatives --set php /usr/bin/php8.0
sudo update-alternatives --set phar /usr/bin/phar8.0
sudo update-alternatives --set phar.phar /usr/bin/phar.phar8.0
Step 4: Install MySQL Server
sudo apt install mysql-server -y
sudo mysql_secure_installation
Step 5: Create MySQL Database and User for Mautic
sudo mysqlOnce in the MySQL prompt, run the following commands:
CREATE DATABASE mautic;
CREATE USER 'mauticuser'@'localhost' IDENTIFIED BY 'password';
GRANT ALL PRIVILEGES ON mautic.* TO 'mauticuser'@'localhost';
FLUSH PRIVILEGES;
EXIT;
Replace 'password' with a strong, secure password.
Step 6: Install Composer
sudo apt install php-cli unzip
curl -sS https://getcomposer.org/installer -o /tmp/composer-setup.php
HASH=`curl -sS https://composer.github.io/installer.sig`
php -r "if (hash_file('SHA384', '/tmp/composer-setup.php') === '$HASH') { echo 'Installer verified'; } else { echo 'Installer corrupt'; unlink('composer-setup.php'); } echo PHP_EOL;"
sudo php /tmp/composer-setup.php --install-dir=/usr/local/bin --filename=composer
Step 7: Download and Set Up Mautic
cd /var/www
sudo mkdir example.com
cd example.com
sudo wget https://github.com/mautic/mautic/releases/download/5.1.0/5.1.0.zip
sudo unzip 5.1.0.zip
sudo rm 5.1.0.zip
Set proper permissions:
sudo chown -R www-data:www-data /var/www/example.com
sudo find /var/www/example.com -type d -exec chmod 755 {} \;
sudo find /var/www/example.com -type f -exec chmod 644 {} \;
Step 8: Configure NGINX
Create a new NGINX server block:
sudo vim /etc/nginx/sites-available/example.comPaste the following configuration:
server {
    listen 443 ssl http2;
    server_name mautic.example.com;
    root /var/www/example.com;
    index index.php;

    # SSL configuration (Certbot will modify these lines)
    ssl_certificate /etc/letsencrypt/live/mautic.example.com/fullchain.pem;
    ssl_certificate_key /etc/letsencrypt/live/mautic.example.com/privkey.pem;

    # Add security headers
    add_header X-Frame-Options "SAMEORIGIN";
    add_header X-XSS-Protection "1; mode=block";
    add_header X-Content-Type-Options "nosniff";

    location / {
        try_files $uri $uri/ /index.php$is_args$args;
    }

    location ~ ^/index.php(/|$) {
        fastcgi_pass unix:/var/run/php/php8.0-fpm.sock;
        fastcgi_index index.php;
        fastcgi_split_path_info ^(.+\.php)(/.*)$;
        include fastcgi_params;
        fastcgi_param SCRIPT_FILENAME $document_root$fastcgi_script_name;
        fastcgi_param PATH_INFO $fastcgi_path_info;
        fastcgi_intercept_errors on;
    }

    location ~* ^/app/bundles/ {
        root /var/www/example.com;
        try_files $uri =404;
    }

    location ~* \.(woff2|woff|ttf|otf|eot|svg)$ {
        root /var/www/example.com;
        add_header Access-Control-Allow-Origin "*";
        expires max;
        access_log off;
        try_files $uri =404;
    }

    # Deny access to .htaccess files
    location ~ /\.ht {
        deny all;
    }

    # Mautic specific rules
    location ~* ^/app/bundles/ {
        deny all;
        return 403;
    }

    location ~* ^/app/cache/ {
        deny all;
        return 403;
    }

    location ~* ^/app/logs/ {
        deny all;
        return 403;
    }

    # For real-time updates
    location /index.php/notifications {
        try_files $uri /index.php$is_args$args;
    }

    # Caching static assets
    location ~* \.(jpg|jpeg|png|gif|ico|css|js)$ {
        expires 365d;
        add_header Cache-Control "public, no-transform";
    }
}

server {
    listen 80;
    server_name mautic.example.com;
    return 301 https://$server_name$request_uri;
}
Enable the new configuration:
sudo ln -s /etc/nginx/sites-available/example.com /etc/nginx/sites-enabled/
sudo nginx -t
sudo systemctl reload nginx
Step 9: Install SSL Certificate
sudo apt install certbot python3-certbot-nginx
sudo certbot --nginx -d mautic.example.com
Follow the prompts to obtain and install the SSL certificate.
Step 10: Final Setup
- Open your browser and navigate to
https://mautic.example.com. - Follow the on-screen instructions to complete the Mautic installation.
- Use the database credentials you set up in Step 5.
Troubleshooting
If you encounter any issues, check the NGINX error logs:
sudo tail -f /var/log/nginx/error.logEnsure all file permissions are correct:
sudo chown -R www-data:www-data /var/www/example.com
sudo find /var/www/example.com -type d -exec chmod 755 {} \;
sudo find /var/www/example.com -type f -exec chmod 644 {} \;
Remember to replace mautic.example.com with your actual domain name throughout this guide.